Introduction
In this tutorial, we will show in simple steps how to implement a simplified OAuth2 login flow using Spring Boot as a way to enhance Spring application security. Securing access to applications can involve different processes and layers. In our previous article, we implemented persistence with Spring security.
The concept
OAuth2 understandably stands for open authorization and is the industry standard for online authorization. Applications can get authorization approvals using OAuth2 features. OAuth2 is known widely as the second version of the OAuth2 protocol. It enables the ability for users to sign-on into applications, providing limited authentication access.
Services in OAuth2
OAuth2 plays a very important role when it comes to application authorization. It ensures resource ownership for application users, granting access to client applications, providing a resource server for user accounts as in the case of Google where contact details are hosted, and providing an authorization server by using token validation.
Tokens issued by OAuth2
Tokens provide extra validation checks and ensure only users/applications issued such tokens can access resources. Two types of tokens are issued here. The access token is issued to third-party apps and the refresh tokens persist user details longer than the access token. An access token is granted solely for authentication where necessary.
Implementing our OAuth2 application.
This process is simple as we used the Okta Spring Boot Starter maven dependency. Using Okta provided a mean for easy authentication. First oa all we need to create an okta developer account, then add our project using the following process:
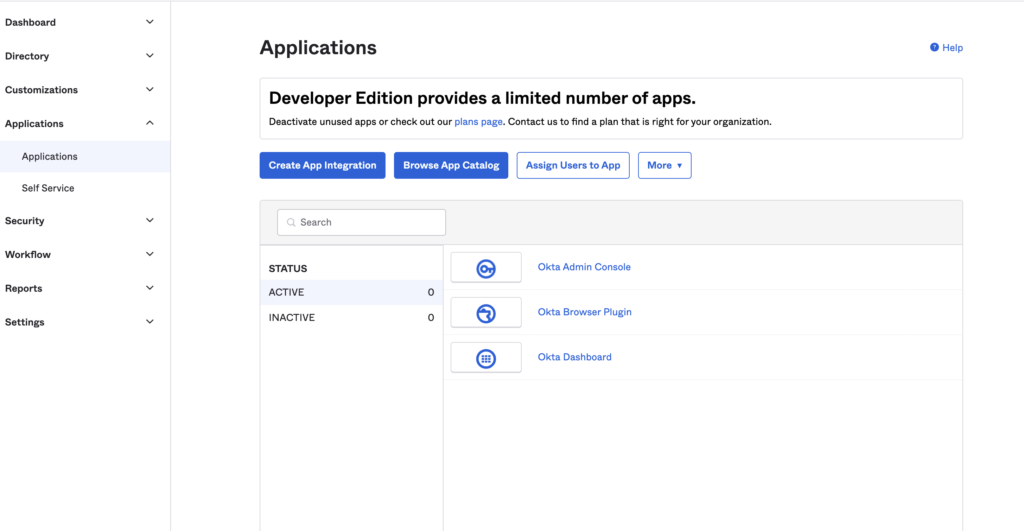
- navigate to Applications
- add Application
- click Web, and Next
On the next page, we enter a desired name for our app (e.g., “User Management Portal”), then we click Done. Afterward, the OpenID authentication keys become available for us to copy and integrate into our local application. Simply add the keys to our application.yml file.
Prerequisites
The minimum requirement specifications needed to implement this tutorial are:
- Spring Boot 2.7.*
- Spring Web
- Thymeleaf
- Okta
- JDK 1.8 and above
Using the Start.spring.io website, we can easily get our starter project ready.
Implementing a flow
Rename the application.property filename to application.yml so that we can integrate our Okta config files.
server:
  port: 8080
okta:
  oauth2:
    issuer: https://dev-03612618.okta.com/oauth2/default
    client-id: 0oa81w6ise8YhMCk25d7
    client-secret: BiQ5uLG8e-57jxMc7EGHmUtl5nkTYz5ag6wzFKvQ
    redirect-uri: /authorization-code/callback
spring:
  thymeleaf:
    cache: false
Create a Security configuration class to provide authorization. This will filter URL access:
@Configuration
public class SecurityConfiguration extends WebSecurityConfigurerAdapter {
    @Override
    public void configure(HttpSecurity http) throws Exception {
        http.antMatcher("/**").authorizeRequests()
                .antMatchers("/").permitAll()
                .anyRequest().authenticated()
                .and()
                .oauth2Login();
    }
}
Create the Controller file to manage various endpoints:
@Controller
public class HomeController {

    @RequestMapping("/dashboard")
    public String dashboard(Model model, Principal principal) {
        return "dashboard";
    }


    @RequestMapping("/login")
    public String login(Model model, Principal principal) {
        return "login";
    }
    @RequestMapping("/")
    public String index(Model model, Principal principal) {
        return "index";
    }
}
Add the template file to the resource folder
<!DOCTYPE html>
<html lang="en">
<head>
    <meta charset="UTF-8">
    <title>Hello new app</title>
</head>
<body>
<h1>Sign in to your app</h1>
<a href="login">Login</a>
</body>
</html>
In conclusion, in this tutorial we covered OAuth2 implementation in Spring Boot using Okta. Our entire source code for this project can be found on our GitHub page.